Accessories • Components • Diary • Features • Links • Models • Projects • Miscellaneous
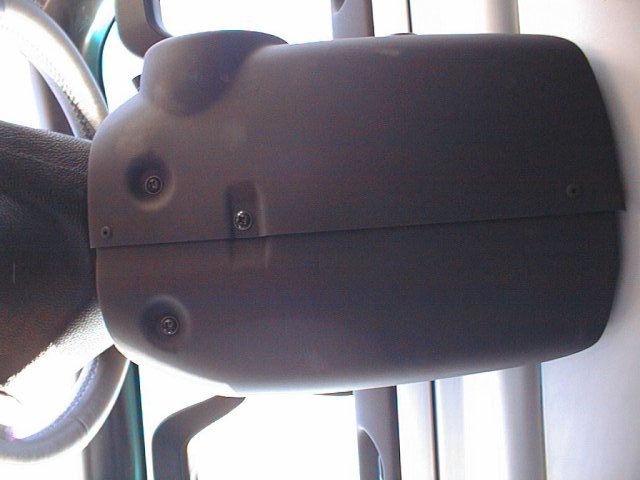
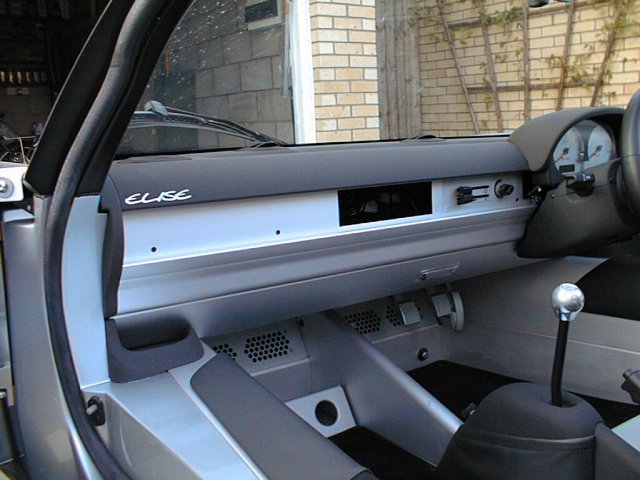
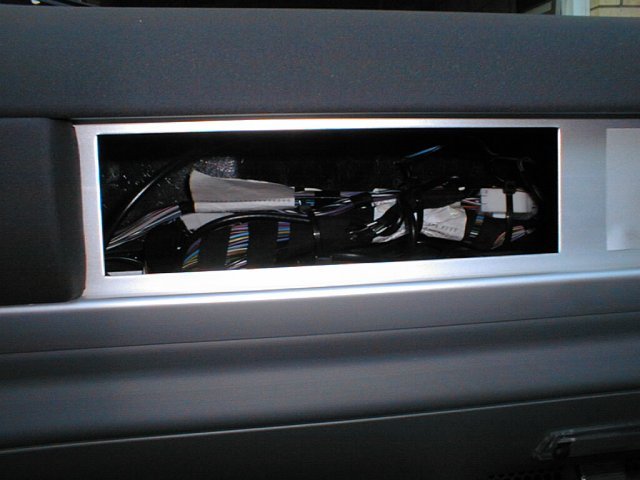
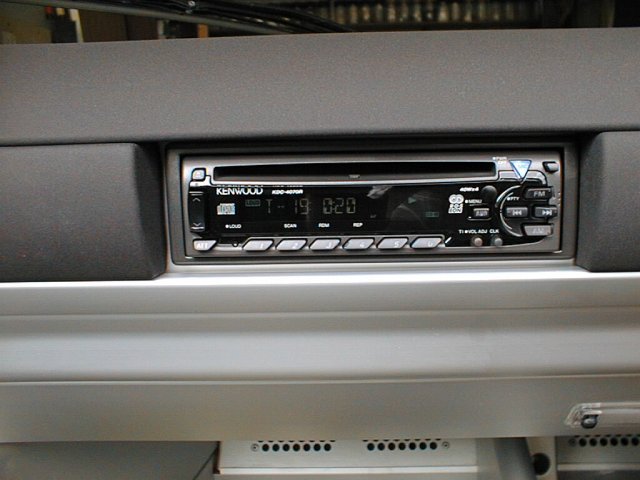
Radio Fitting

If you've got an Elise without the radio fitting kit, then all is not lost. It will cost you more money and about six hours of your time but, it can be done. These wiring instructions are correct as far as I know. Make sure you check all wiring before plugging in your head unit.

The Aerial

The aerial is costs £28 and the aerial base £78 from a Lotus dealer but, both parts are from a Vauxhall Corsa and cost considerably less if purchased from a Vauxhall dealer. The aerial has as short flying lead with a plug on.

Speakers

The speaker pods need to be fitted and this involves taking out both seats. These are fixed with velcro and a single screw. A hole needs to be made in each one for the speaker to fit into. There are now two types of speaker pod for the Elise.

Wiring

All of the necessary wiring is pre-fitted to the Elise and the aerial co-axial lead is tied back on the left, inside the boot. It has a female socket pre-fitted. The head unit wiring ends in standard ISO multiway connector. It requires a convertor for other makes of head unit and on some the switcheded and permanent power circuits need to be swapped.

Head Unit

If you don't have the radio fitting kit fitted you will need to replace the single dash strip with the two extra pieces provided with the radio fitting kit. New cars are now shipped with these two strips as standard. These two pieces cost about £50 each.
Fitting the head unit takes about 15 minutes. If you have the old style long dash strip your car will look something like this. Newer cars have the smaller three strips pre-fitted at the factory which simplifies things.
Click image for full size (640 x 512 pixels, 76K)
In order to remove this long strip you must undo the three self-tapping screws underneath the steering column cover (shown in picture). You don't need to remove this cover but undoing the three screws allows enough movement for the dash panel to be pulled out.
Click image for full size (640 x 512 pixels, 41K)
Using a blunt knife and starting from the top left hand corner, lever the flange on the panel down to allow the dash strip to pop out. Once started it should come out easily. You should then end up with this.
Click image for full size (640 x 512 pixels, 61K)
Start by locating the bottom edge of the new panels and compress them in position to allow them to pop into place. This should give you the right size gap in dash and this is how the new car would look (though picture shows right hand dash strip still unfitted). Pull the two aerial and wiring block though the gap to allow connection to the head unit.
Click image for full size (640 x 512 pixels, 45K)
Follow the instructions for your particular head unit when it comes to mounting. You can get away without putting a support bracket at the back of the radio and just use the metal clips at the front. My Kenwood CD/tuner required a separate wiring loom (picture 498 x 340, 48K) which came with the unit. When sliding the head unit home be careful not to trap wires behind it or you won't be able to push it far enough in. Once fitted it should look something like this.
Click image for full size (640 x 512 pixels, 50K)

 
About This Site • Business Advertising • Contact Me • Site Map
Copyright © Rob Collingridge 2009 - Last updated 27 Jan 2009